Application Registration
Learn how to register your application as a HyperID Client
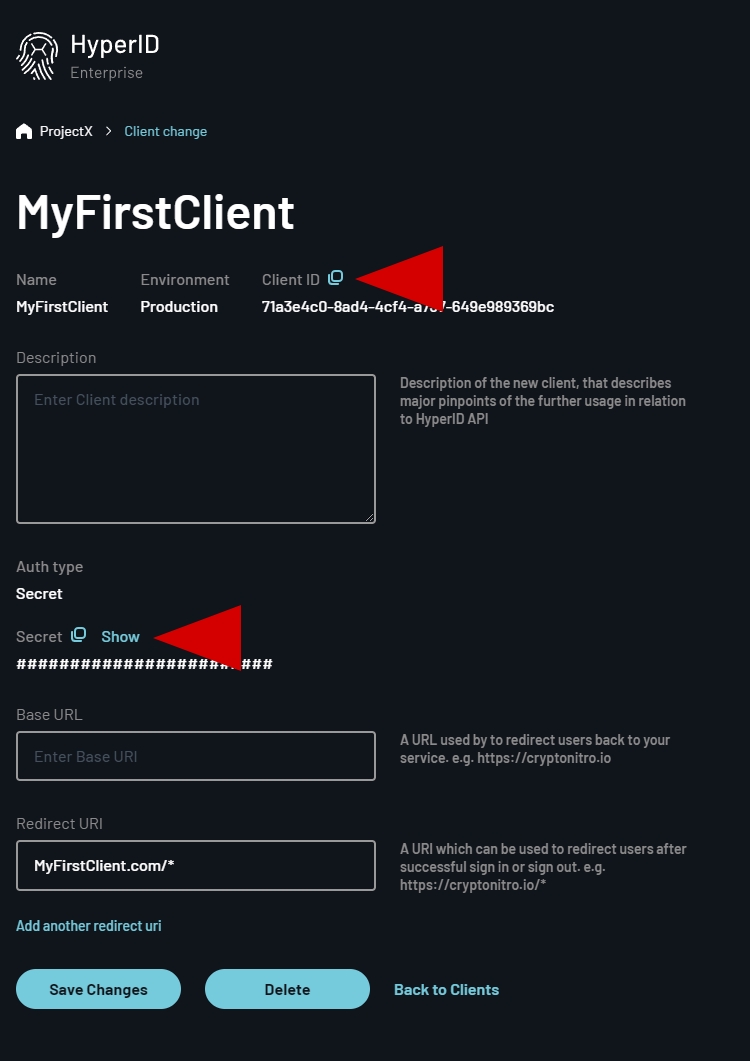
This guide will walk you through the process of obtaining the critical credentials: clientID and clientSecret. These credentials are essential for authorizing your application within the HyperID ecosystem.
The clientID serves as a unique identifier for your application, allowing HyperID to recognize and authorize it. The clientSecret, on the other hand, acts as a secure key used in the authentication process between your application and HyperID.
Please note that this guide assumes you're developing a server-side application and are ready to use a basic authentication method. For more details on client authentication and advanced options, refer to our documentation here.
Let's dive into the process of obtaining the clientID and clientSecret credentials.
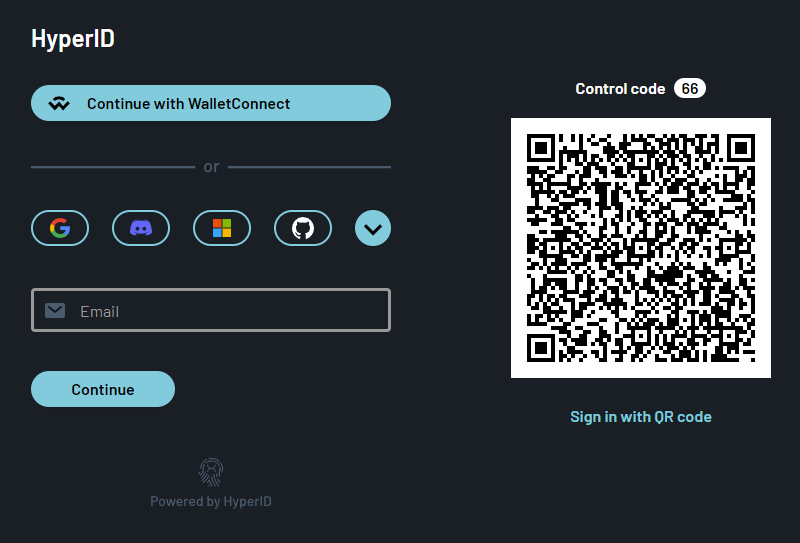
Step 1: Sign In to Your Developer Account
Visit HyperID Developer Portal and click "Sign-In".
If you already have a HyperID account, sign in using your existing credentials. If you do not have one, you can conveniently create an account during this process using the method of your choice.
HyperID account will give you access to the Developer Portal. Here you can continue the client registration process.
Step 2: Creating a Project
To create a project, enter its name. The project name is for internal developer use only. It won't be visible to your users.
Step 3: Preparing Your Application's Redirect URI
A redirect URI is the endpoint to which the authorization server redirects users after they've successfully authenticated and authorized your application. This is a crucial step in the authorization code flow, as it involves passing the authorization code from the server to your application.
Here are a few of examples of what redirect URIs look like:
https://yourapp.com/auth/callback: In this scenario, upon successful authorization, the user is redirected back to theauth/callbackendpoint of your application's domain.com.yourapp.mobile:/callback: For mobile applications, custom URI schemes such ascom.yourapp.mobileare often in use. In this case, upon authorization, the user is returned to thecallbackendpoint within your mobile app.
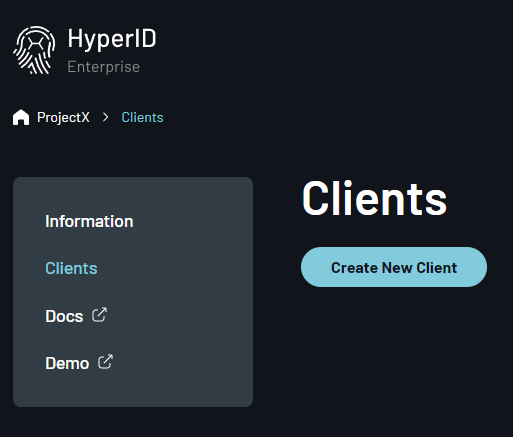
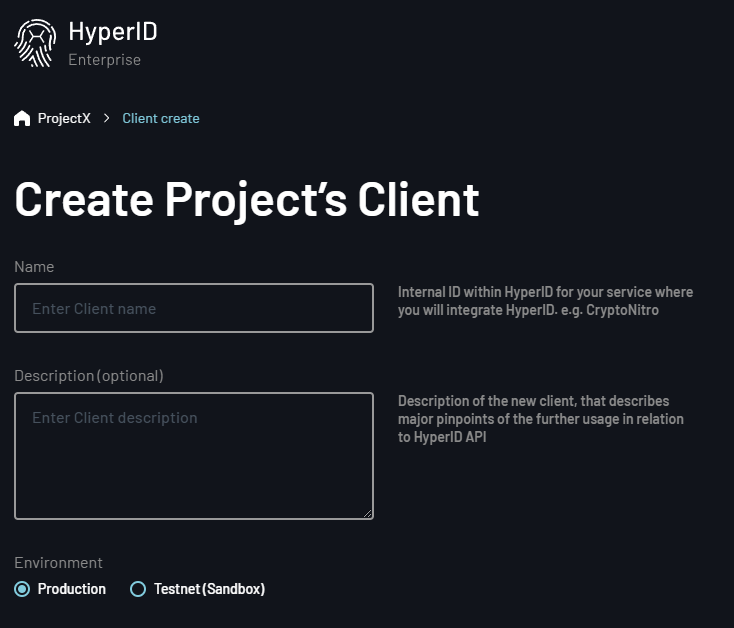
Step 4: Creating a Client
Once you've created your project, you'll be directed to the project configuration page. Here you will need to create at least one client that will interact with HyperID. To do this, navigate to the Client page and select "Create New Client".
You will be prompted to configure your future client. For this quick guide, you'll only need to provide a name (which will be displayed to users on the HyperID page as the application's name during authorization) and enter the redirect URI from Step 3. Leave all other options as they are.
In the client settings, you can specify a mask for the URI, such as 'https://yourapp.com/auth/*'. This will allow any URI that matches the mask.
Note, however, that HyperID will only allow the use of redirect URIs that you have configured in your project's client settings. This helps ensure the security and integrity of the authorization process.
Click "Create Client" to complete this step.
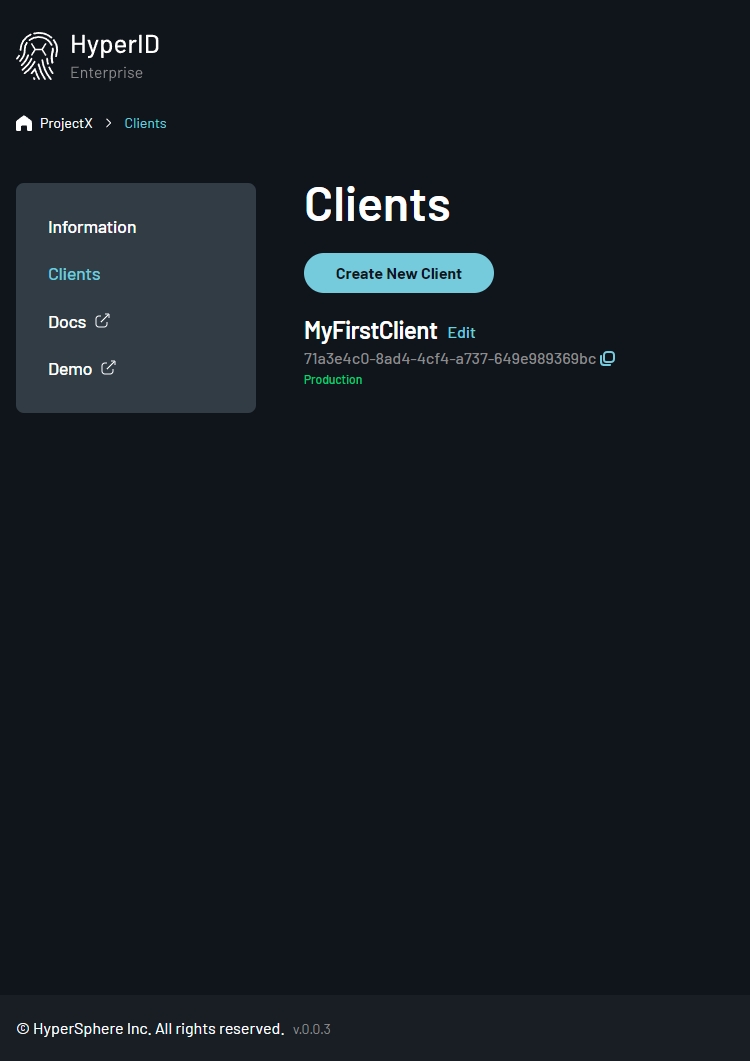
Step 5: Getting ClientID and ClientSecret
Congratulations! You've successfully created the client for your application. At any time, you can return to its settings to copy the clientID and clientSecret that you will need to implement the authorization flow.
DO NOT share your clientID and clientSecret with any third party. Keep them safe and private to ensure the security of your application.
Last updated