Interactive Web Demo
This section describes our interactive web demo and highlights the benefits of the hands-on approach.
Follow the HyperID Interactive Web Demo web link to begin testing: https://client-sandbox-demo.hypersecureid.com/
The full source code of this demo is available on GitHub:
https://github.com/HyperIDMaster/HyperID-Client-Sandbox-Demo
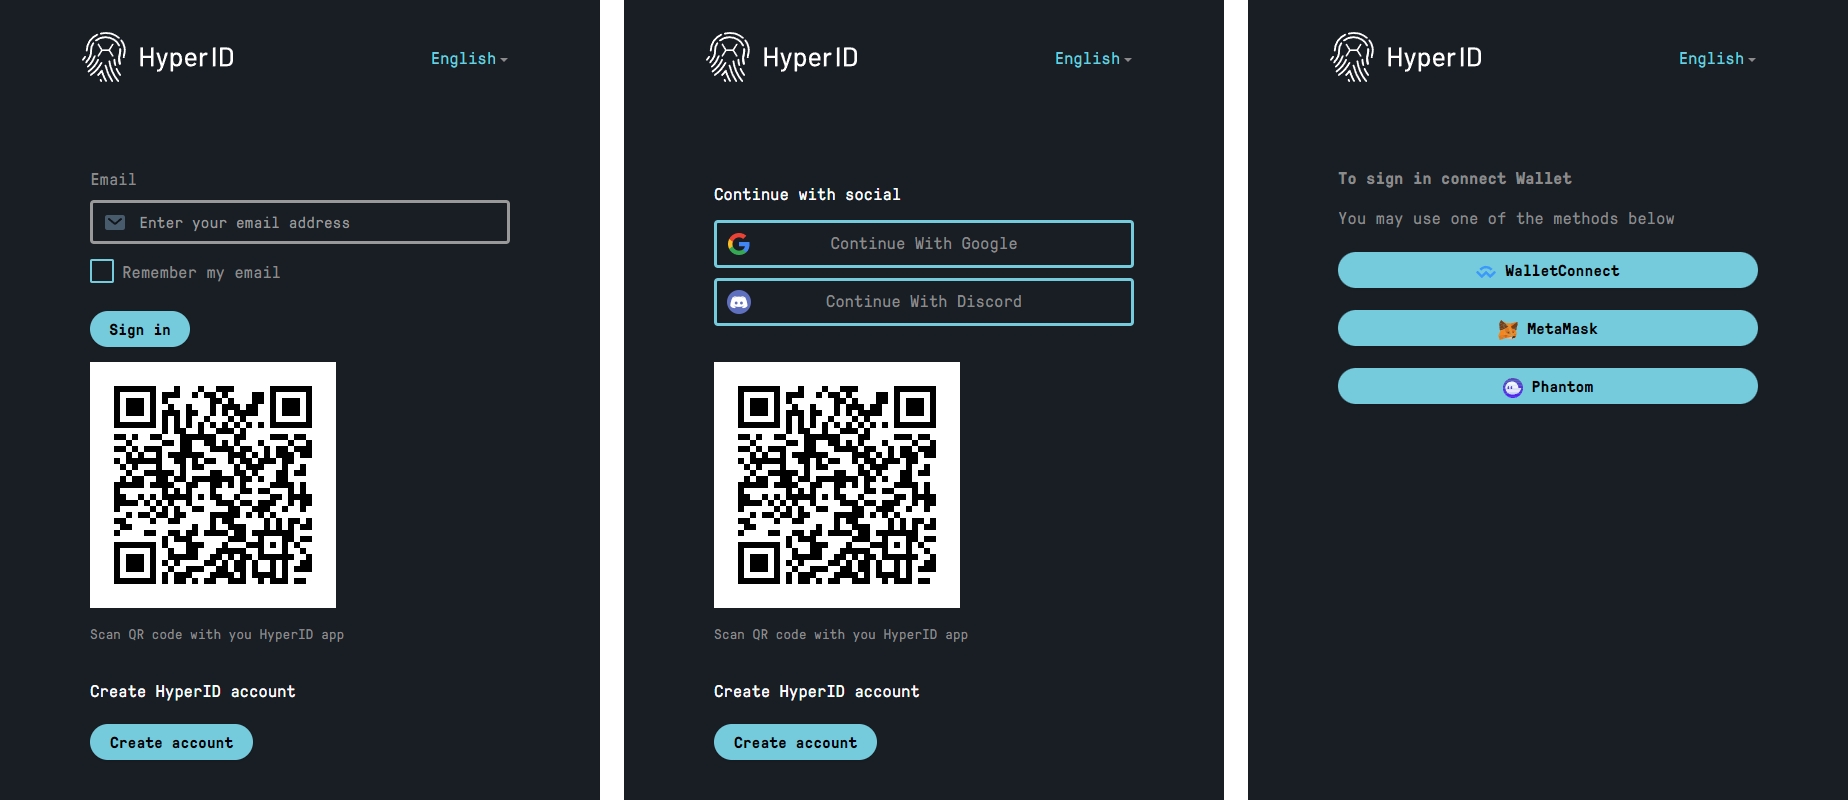
Authorization
The demo starts with the Sign-up/Sign-in section, providing various user authorization scenarios. Users can choose to authenticate using their email and password, an existing social account, or a Web3 wallet.
Please note that actual email verification is not provided for demonstration purposes. Enter '111111' as the email verification code to confirm the email.
Features
After a user has created a HyperID account and successfully signed in, they gain access to additional features of the platform, such as Multi-Factor Authentication, the Know Your Customer procedure, attaching social account identifiers, and minting on-chain MultiPass.
As a result, the service provider also gains access to these additional features by utilizing the user's access token. Service providers can:
Request the user's custom confirmation via a mobile app after the user has enabled Multi-Factor Authentication (MFA)
Retrieve the user's social account identifiers
Check the user's KYC status and utilize the MultiPass API
Verify on-chain MultiPass information for the user's wallet address
Share the user's information (with the user's permission) with other service providers
Access user's list of wallets and manage it by adding or removing tags to specific wallet addresses for filtering purposes, and assigning custom labels to specific wallet addresses
HyperID features are only accessible to signed in users.
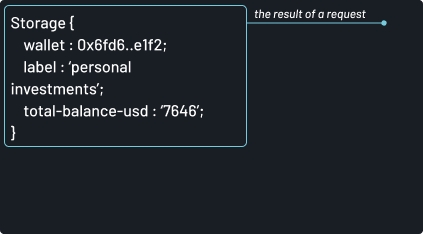
For convenience, the user and service provider features are grouped into sections, allowing developers to perform actions from the user's perspective and then utilize the service provider API to obtain corresponding feedback or results.
Once developer makes a request to the API provided in this test example, they will see the JSON-formatted response in the ‘Request result’ field:
Important Tips
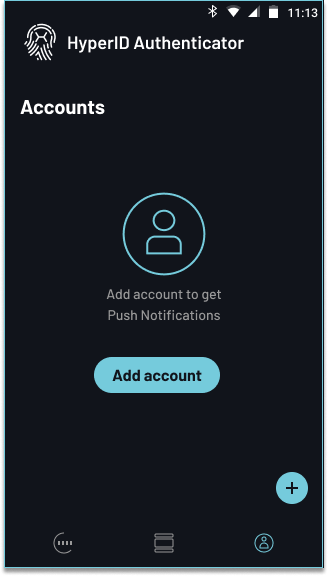
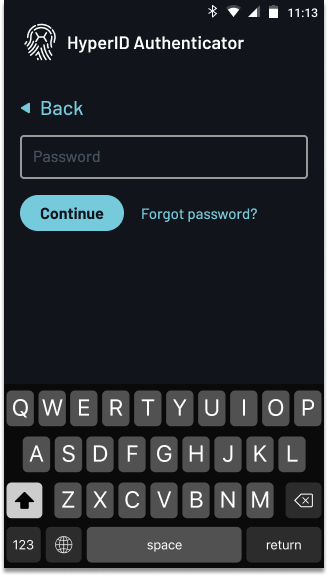
Enabling MFA
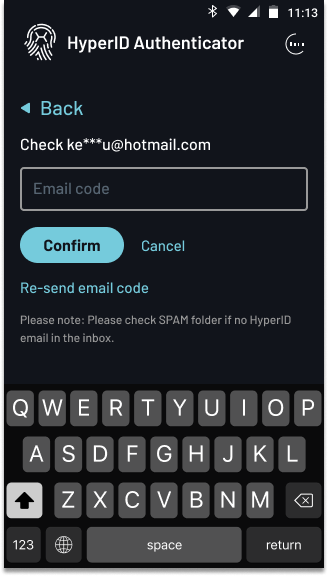
To enable MFA, the user needs to install the HyperID Authenticator mobile app. In the HyperID app, navigate to the "Accounts" tab and add the corresponding account.
DO NOT use the production version of HyperID Authenticator from AppStore or PlayMarket.
For the purposes of this demonstration, we will be using a dedicated test application: Click the "Enable MFA" button and you will be taken to a page with step-by-step instructions and links to download the test application.
KYC procedure
The KYC flow concludes with the user waiting for the KYC provider to review the provided documents and update the user's status accordingly. In the demo version, this procedure is simplified, allowing the user to confirm the validity of the provided documents at the last step of the KYC flow. It's important to note that in production, this step is not present and the user will not be involved in the verification process.
MultiPass NFT
In a production environment, users are required to mint their own MultiPass NFT for their wallet through the User Account page. However, in the demo version, this feature is not available. Instead, an example is provided that demonstrates how to retrieve a previously claimed MultiPass NFT for a predefined wallet address with predefined data. Please note that this example is not related to the user's actual demo account.
Last updated